Dual Character Combat in Future Knight
Master the lethal dance between Future Knight and Two More.
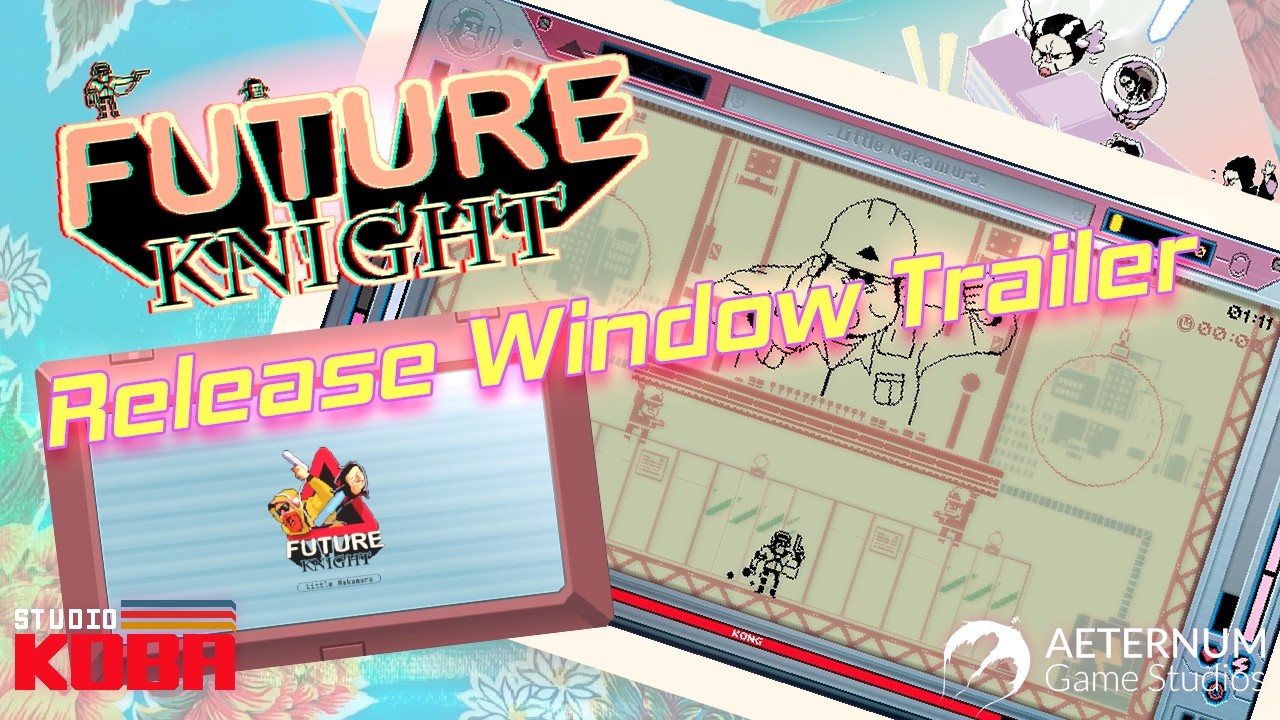
Dual character combat is the defining system in Future Knight. Studio Koba and Aeternum Game Studios market it as the “Choreography of Violence” — and preview players agree: fights feel like rhythm action once you internalize swaps. This guide explains sustain loops, offensive windows, and common mistakes that keep demo runs stuck on the first boss.
The two halves of one moveset
Future Knight (The Muscle) brings ranged dominance: Techno Blaster plasma shots, heavy bites, rolls, and area chaos. He is slower but hits hard and controls space at mid-long range.
Two More (The Agility) is ejected for Super Dashes, wall climbs via “natural viscosity,” short-range shots, and squeezing through gaps Future Knight cannot fit. He is fragile in open space but unmatched for repositioning.
Alone you go fast; together you go further — the official tagline is literal. Winning means chaining both identities every 2–4 seconds, not camping one form until energy depletes.
Sustain loop: health and energy
The hidden RPG layer is resource exchange through swapping:
- Playing as Two More can recover Future Knight’s health when you use him during appropriate windows (after taking chip damage, not mid-bullet hell).
- Playing as Future Knight recharges Two More’s energy so mobility tools return faster.
Think of swap not as escape but as maintenance. Players who only swap when critical often die before recovery completes. Proactive swaps during lulls in patterns keep both meters healthy for the next phase.
Offensive choreography patterns
Three repeatable combos appear across demo coverage:
- Open with Knight — delete trash mobs at range, build space.
- Swap to Two More — dash through gaps, finish elites at close range, climb to elevated triangles.
- Swap back — recharge dash stock while blasting from safety.
Against bosses, insert defensive rolls between steps 1 and 2. Never dash through undodgeable telegraphs hoping i-frames save you — Future Knight punishes greed.
When to lead with which form
| Situation | Lead form | Why |
|---|---|---|
| Open arena, many shooters | Future Knight | Range and roll invulnerability |
| Vertical shaft, wall routes | Two More | Climb and short-range burst |
| Boss adds spawn | Future Knight | AoE and bite finishers |
| Boss core exposed high | Two More | Super Dash positioning |
| Low HP, safe pattern pause | Two More | Health recovery window |
Detailed ability tiers appear in Abilities Overview.
Common mistakes
- Form camping — staying Knight until death because DPS feels higher.
- Panic swapping — burning i-frames without a follow-up plan.
- Ignoring triangles — skipping collectibles that unlock safer routes mid-combat.
- Input lag — playing on under-spec PCs; fix via System Requirements before blaming design.
Practice drill (10 minutes)
In the demo’s early arena, disable ego: repeat swap every third kill regardless of comfort. Track energy and HP bars until recovery timing becomes muscle memory. Then read Boss Guide for pattern-specific insert points.
Related guides
- Getting Started — demo install and first hour
- Controls — bind swap to an comfortable shoulder button
- Future Board — aerial swap extensions
- Biomes Walkthrough — stage hazards that force form choice
Dual mastery separates players who bounce off Future Knight from those who call it a modern shoot ‘em up highlight. Invest here before grinding boss attempts.
Frequently Asked Questions
Quick answers to the most common questions.
Can I play mostly as Future Knight?
Not effectively. Energy and health loops require Two More — bosses assume both.
Is there swap cooldown?
Swaps are instant; limits come from energy and positioning, not a hard timer.
Does multiplayer change dual combat?
No multiplayer mode — one player controls both forms in offline single-player.
Where learn advanced combos?
Boss Guide and Abilities Overview after mastering this sustain loop.